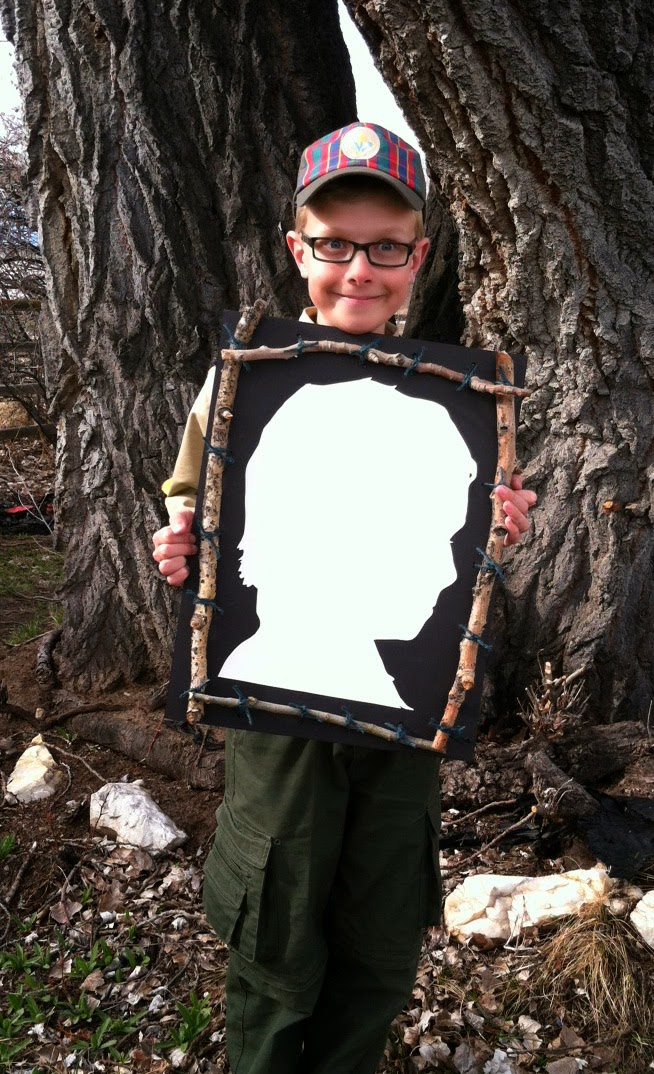
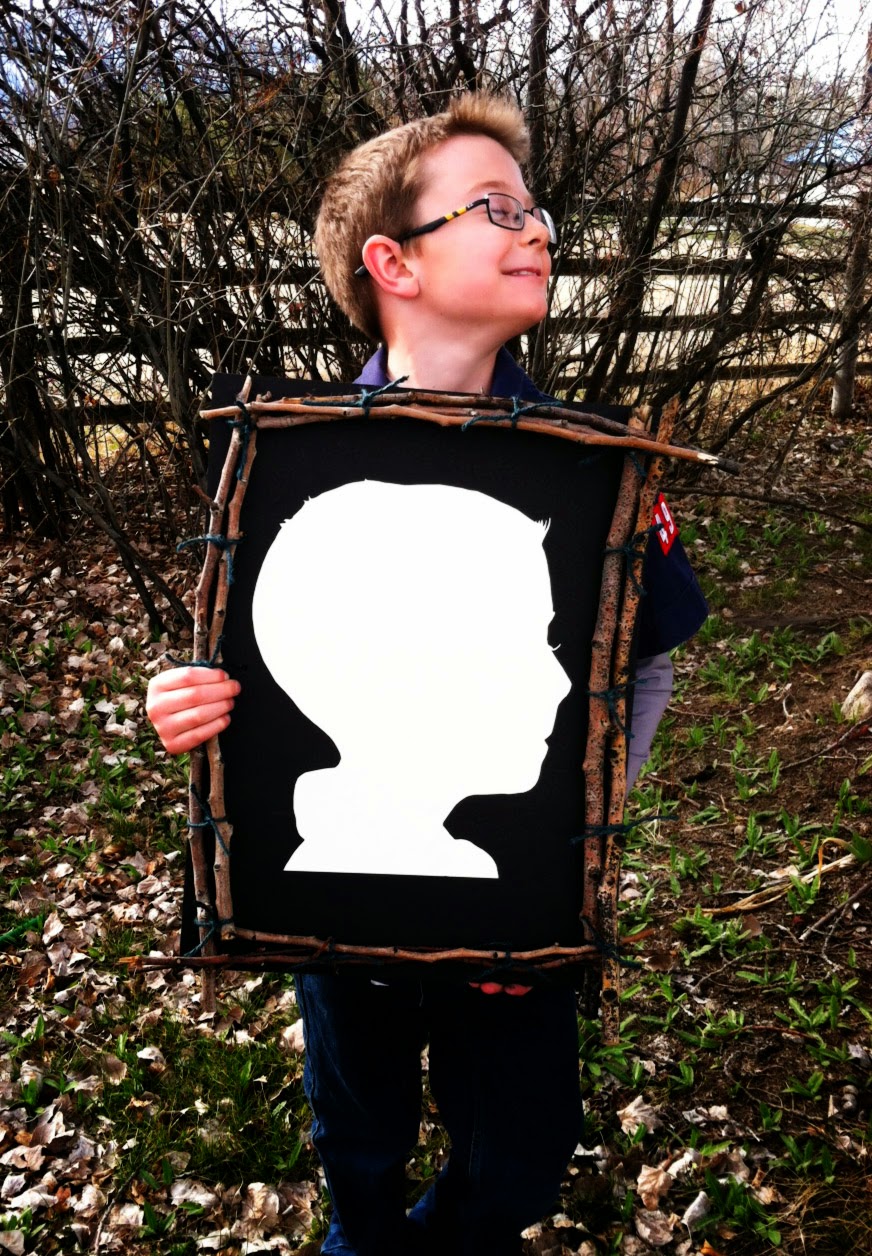
Originally my son's scout leader had asked me to help my son and two other scouts to make some things with them to earn their Art Badge. I thought that we could make some silhouettes since they are only this age for so long. I managed to capture the likeness of their faces and unique features of each one. Then I asked the scout leader if she could pick up some kind of black background and she had found these black foam boards at Walmart for a really cheap price. Since part of the requirement for the badge is to make a frame, I thought it would be really neat if we could somehow frame these with branches. She took us to a friend of hers house where we found many branches that had fallen down during the spring winds. Upon arriving to her friends house I discovered that the entire front room of her house was devoted to creativity! It was the ultimate crafters' delight. A room as big as my kitchen, dining and living room put together. Full of bins containing every crafty, artsy kind of thing imaginable. The scout leaders friend told me that this room was made with the purpose for her four teenagers in hopes that they might create things instead of being sucked into the gaming world or television. She explained to me that her teens and their friends prefer to spend time in this room creating and chatting about life. Between the three of us and this amazing room we came up with these amazing frames. We marked several pairs of holes all along the top, bottom, and sides. Then using these giant nails we poked them through the foam board. After that we measured out some colored green twine and cut several for the holes about 10-12" long each. We used pipe cleaners to pull the twine through each hole. Then secured the branches creating a frame for each side. The results were so amazing. I had to share with you all, especially since I thought that there might be other moms like me trying to figure out what to do with their scout to help him earn his badge. I hope that this was helpful, I would like to know if it was. You can use this to make up your own or different versions of this project.
Keep fueling your creativity!
Abby


Awesome idea Sis, this would be a wonderful art project for me and the kids to do. You are just so creative. Can't wait to see what you come up with next.
ReplyDeleteBeautiful... would love to know how you got them so much larger than their actual heads?
ReplyDeleteSorry for the slow response! I took a desk lamp and placed it on a table between the boys and the wall where I had a piece of white art paper taped to the wall. So it was placed lamp on table, boy in a chair and then paper on the wall. Very simple very easy. Only real trick is getting the boys to stay still long enough so that I could trace the shape of their heads and hair! But then again any boy of that age have a hard time sittings still I find. Happy creating!
ReplyDelete